
Techniques that we use in restoring Victorian front doors lend nicely to antique furniture restoration. Maybe during the lockdown, you’d like to strip paint off a desk, sand down your dining chairs, paint a coffee table, wax or varnish any wood furniture, the tips below will have you doing it well and enjoying the process.
Allow me to assume the piece of furniture you are restoring is painted, needs stripping, sanding and finishing, worst-case scenario. Everything you’ll need is here. If you don’t need something, skip over that bit and keep it in mind for next time.
Product links here will take you to something I actually own, use and trust — not stuff sent to me free or paid to plug. As an Amazon Associate I earn from qualifying purchases so if you buy anything on Amazon (or another site) after clicking through and I earn a small commission at no extra cost to you — you pay the same price, they just share a slice of what they’d have made.
Stripping paint from wood furniture
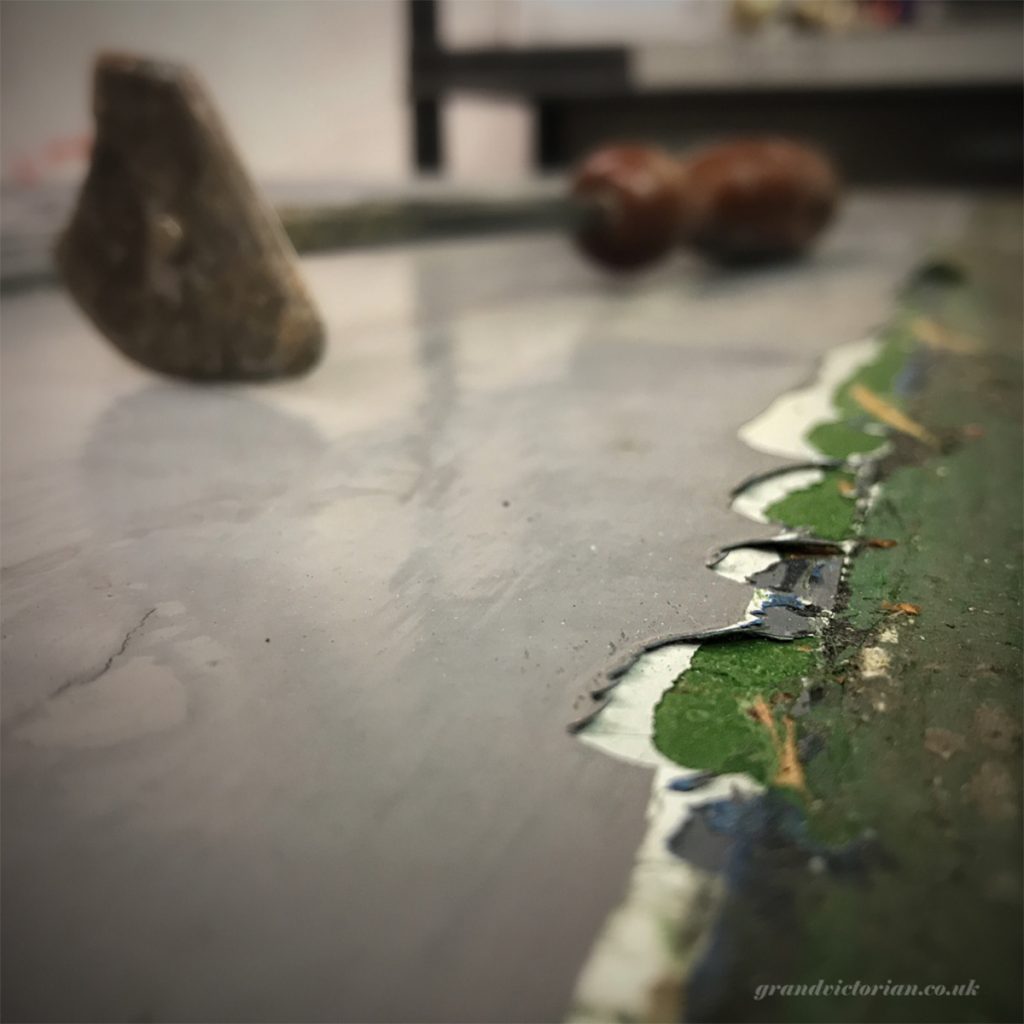
Let’s start with stripping paint off wood. There are three effective ways of removing paint off wood. All three can be messy and even dangerous if you don’t take care and precautions.
I will explain a method of restoring wood furniture without stripping later but before you decide that’s your route, bear with me and consider ‘doing it the right way’ so there’s less chance of the paint or varnish peeling off later. Let’s start with the traditional ’80s style method, the most messy and why to avoid it if you can.
Using chemical paint stripper
I imagine most people with an interest in DIY have heard of Nitromors. Chemical paint strippers are brushed on to paint. The chemicals and the paint have a fight, and the chemical wins, leaving the paint easily scraped off the wood.
In some hard to get to areas like around mouldings and drawer fronts, you may need to employ a wire brush to get into the detailing. A brass brush is softer than steel and won’t damage the wood so much. It’s not unheard of for one of us to use a screwdriver or some other random pokey thing to get into areas where a scraper or wire brush won’t get to. Being creative pays dividends.

Nitromors chemical paint stripper
Many layers of paint will often require this process to be done twice, even three times. Even a chemical stripper like Nitromors can’t always cut through so many layers, especially when some are water-based and some are solvent-based. In the workshop, we have a can of this stuff at the ready for ‘difficult’ or stubborn bits.
Water-based paint stripper
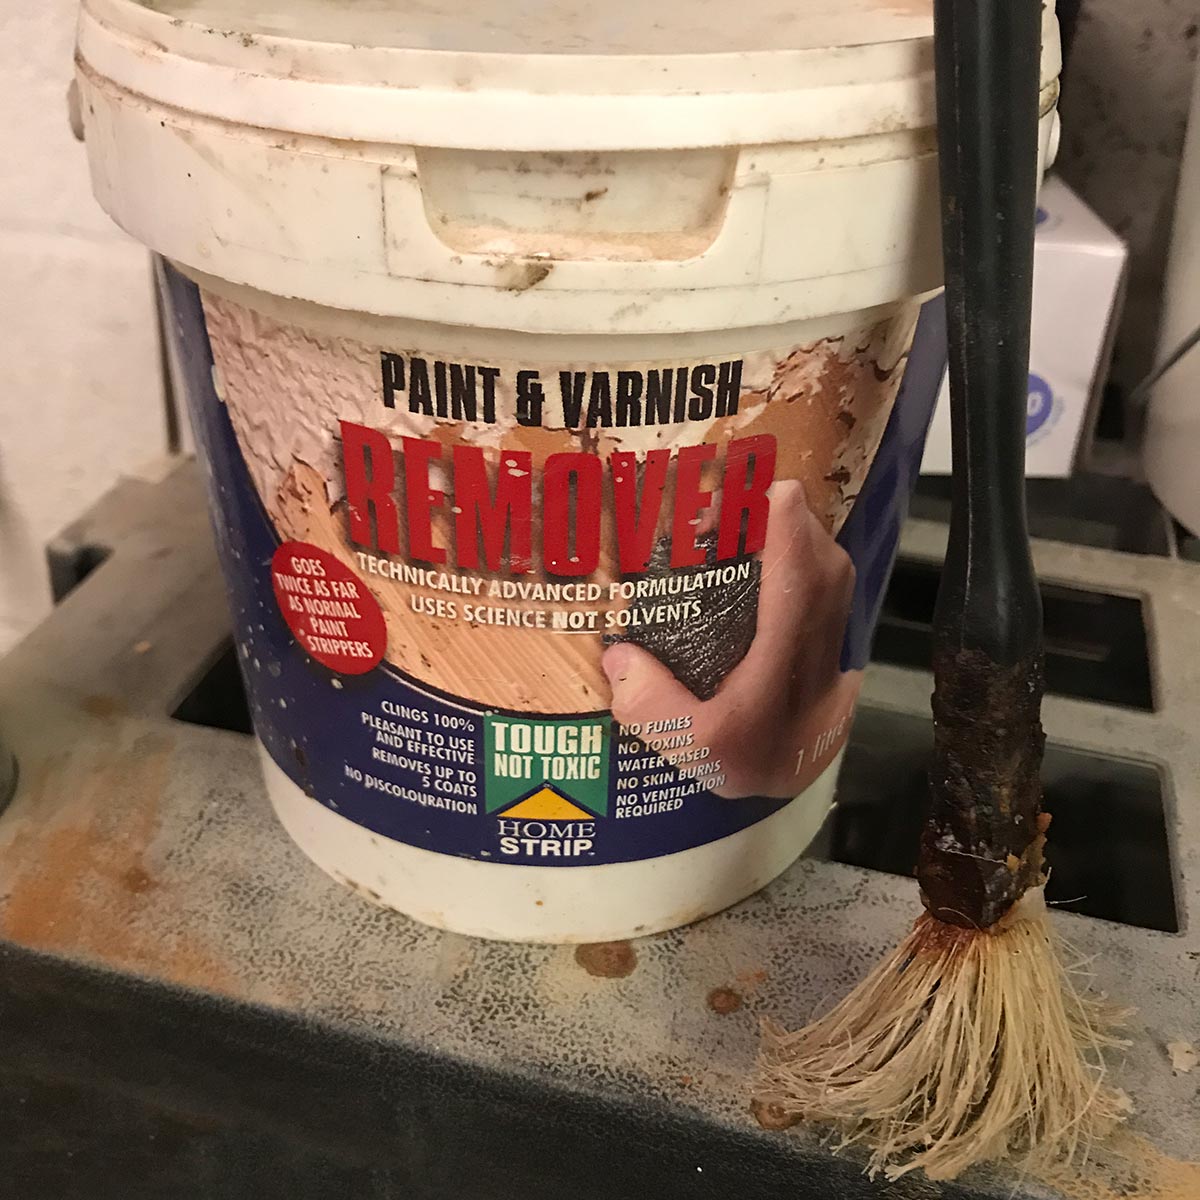
We don’t use Nitromors a lot in our workshop. The fumes are very potent, and you can get high on them. I don’t like that, so when we do use paint stripper, it’s a water-based alternative called Home Strip Paint & Varnish Remover.
With water-based stripper, there’s no smell and it does the job fine, even on old wood with many layers of paint.
Use the same techniques as above for water-based paint stripper without it knocking you out.
Paint stripping heat gun
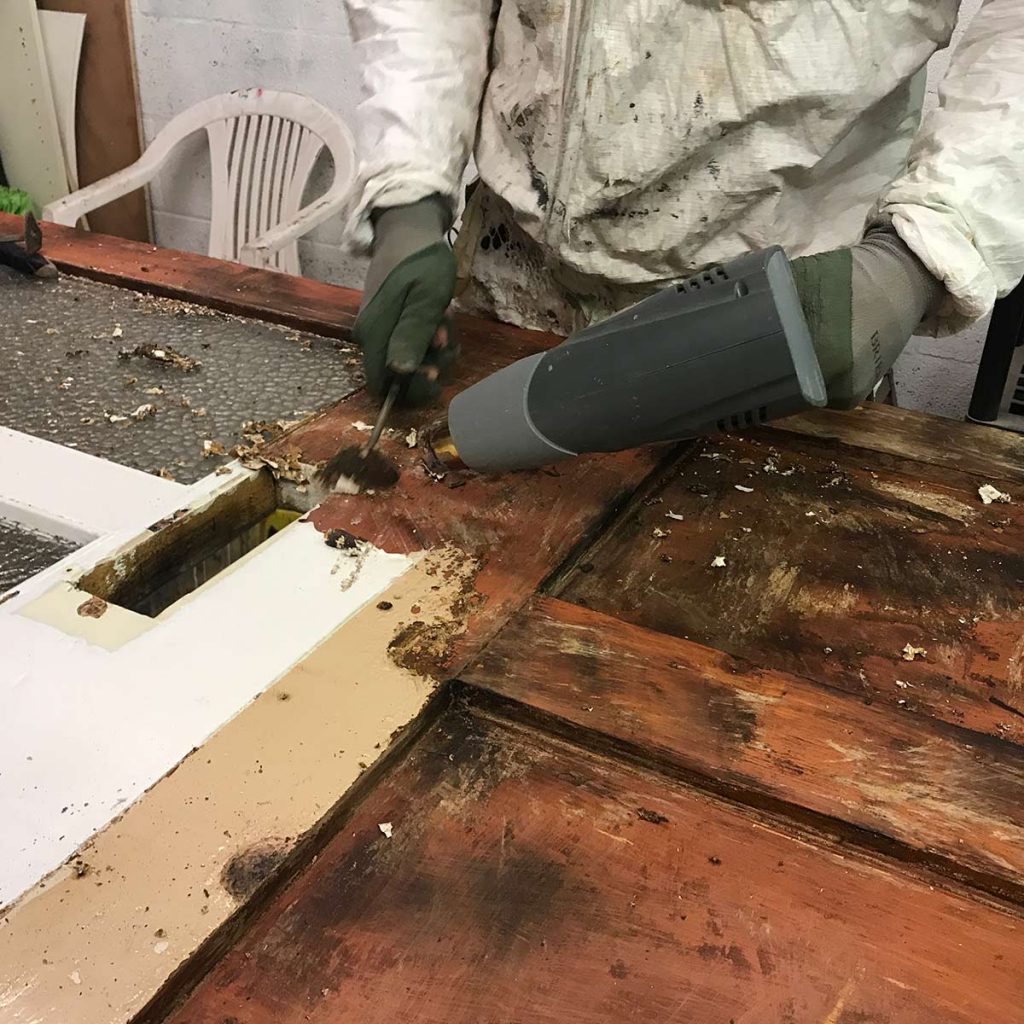
The old classic paint stripping heat gun will take the paint off anything because it melts the paint. Paint has oil in it which softens when you heat it, water-based paints will also scrape off easier when heated. This is a quick and easy method on flat surfaces, but when it comes to the detailing on mouldings, you can scorch the wood so just be more careful.
If you intend on having a wood finish, which you’ll wax or varnish, this tool is not best for stripping the wood. We use a heat gun on front door moulding that we’re going to paint but never when we want to see the wood.
You heat the paint up, start at 100mm or so away and get used to it. You then scrape the paint off towards you with a simple paint scraper. We don’t use anything fancy or expensive, and it does the job.
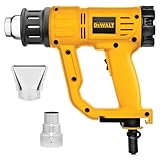
The Heat gun we use…
This grey heat gun you see above, a cheap B&Q special, gave up the ghost after a year so I’ve splashed out on a DeWalt one. Hopefully this will see us through a few years, £50 is nothing for what it does for us.
HOW TO SAND WOOD
Sanding wood has been done for centuries, using an abrasive to take the surface off the wood. With a good sander and extraction, you can even sand the paint off the wood. This will clog your sand paper up and you’ll use maybe up to a hundred pieces on your door or furniture.
As I say, to avoid this we strip first and then start sanding.
Using a sander to get the last bit of paint out of the grain and smooth the wood for painting, you’ll need good extraction. We use the Festool Rotex below and the dust is extracted through an M class unit, the filter holds on to the finest of particles so you’re not breathing it in. Obviously, a dust mask is also worn as an extra protection.
Some sawdust is carcinogenic, e.g. MDF. That is, it has the potential to cause cancer. A dust mask is essential. We wear one even with the M-class extractor.
Unless the piece of furniture is made from straightforward boards, and there’s no detailing, you will still have to use one of the other methods to strip paint from these areas. The sander won’t get into small detailed areas and would damage some detail. Using small pieces of sandpaper would take forever
These are The sanders we use…
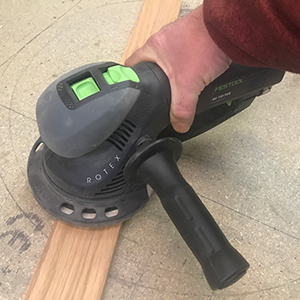
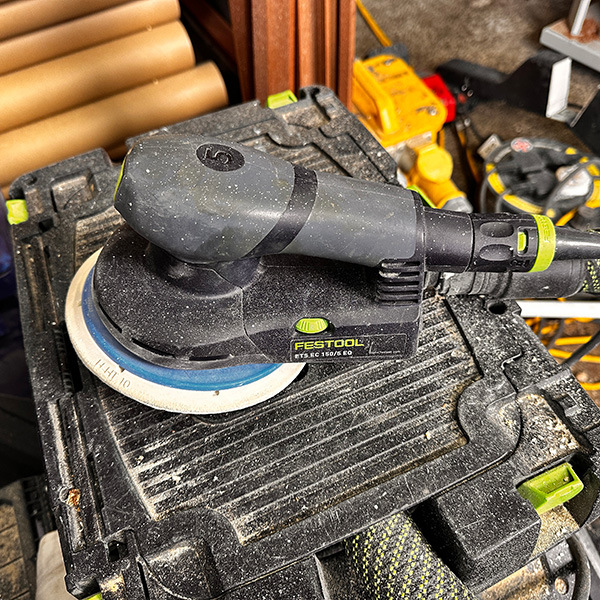
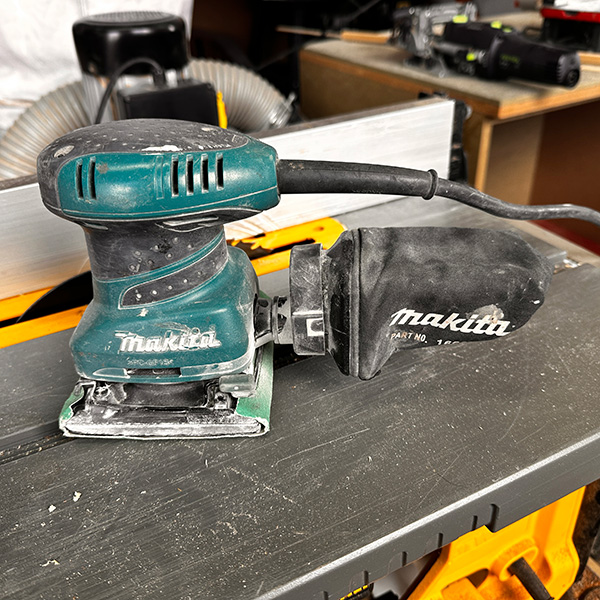
I use a Festool Rotex 150 sander for the roughest first pass and sand all the flat areas flat and smooth. I then move on to the Festool ETS 150 (more surface area coverd that the 90mm version) to do all the finer work. In the past, the Makita BO4555 did the job but took an age before I discovered Festool, now sanding is almost enjoyable.
For years, I’ve use the 110v versions of tools because it’s a requirement for site work but as I only have a small workshop now, buying new I would get the 240v versions just because they’re more convinient. For home use, you can use a 240v version with confidence, otherwise you need a transformer.
bulk and rough work
Festool Rotex 150
This is a beast. The movement of the disc is not just orbital, it’s a geared eccentric rotation, configured to reach all of the surface evenly. This machine takes some practice to master, the hand-held Tasmanian devil but amazing at what it does.
Best for cutting through rough wood and could be used for sanding floors.
finer work
Festool ETS 150
The ETS is the tamer cousin of the Rotex and pleasure to use. You can use it for hours and actually feel your arms afterwards. With the correct sanding discs, you’ll fly through the job with this compared to a crap sander you would get from that orange DIY store.
Mostly used these days for rough sanding, then finer detailing right up to finishing.
light sanding
Makita
I probably restored 100 front doors using one of these before discovering (and being able to afford) a Festool sander. Vibrations are much less than other sanders the same price and the square pad get’s pretty close in the corners.
Could sand the whole project at a pinch, as I have done, but mostly now used for light sanding and will last me 10 years.
The extractor we use with the Festool sanders…

When I sand wood in our workshop, I also extract the dust straight from the sander through a Festool 574825 Dust Extractor. This is like a vacuum cleaner but has an M class filter on it so the fine dust, the stuff that causes the problems, is filtered out. The Makita sander above has a bag connected for quick bits of sanding but when I’m using it for a while I connect the extractor – although, I do need an adaptor.
I’m well aware that this kit is very expensive but I’m just telling you what I think, through using it for years, are the very best tools for the job. They also give you a 3 year warranty on Festool gear, theft including. One time, I broke a fitting and called them up to find out what it was called, to order another. They just sent one same day.
Ear protection
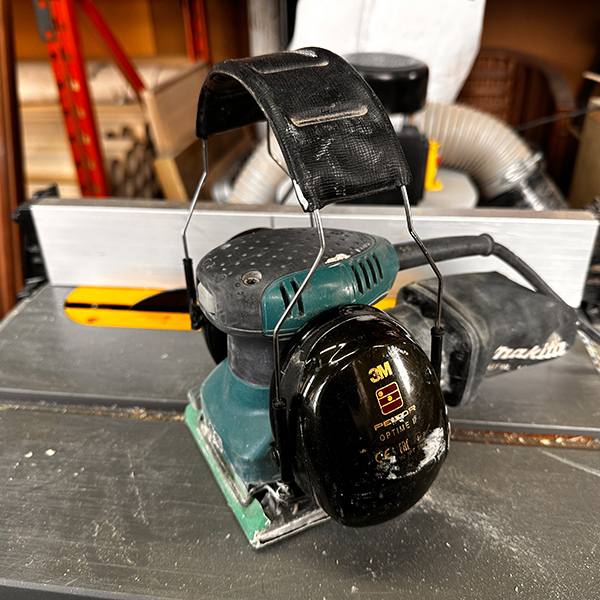
Over time, exposing your eardrums to noise will damage your hearing. My dad was almost stone deaf by the time he retired and shouting at him conditioned me to protect my ears. Sanding may be less noisy and shocking to your hearing but it will still damage it long-term.
Ear defenders we use
After going through many different brands of ear defenders over the last 30 years or so, I settled on 3M about 12 years ago and bought them for everyone who worked for me since. These 31db ear defenders are more than enough in my workshop and they’re really comfortable. I’ve had this pair for 6 years and they’re still as good as new, albeit a bit scruffy.
Sandpaper
When you’ve stripped all the paint off, you feel like you’re a big step closer to making your furniture beautiful again.
You must now spend a good bit of time sanding in the corners, squaring up the details. This is where doing a good job turns into doing a great job.
Use small pieces of sandpaper, fold them in thirds to give better grip, use the edge around mouldings or make a small block from an off-cut of wood to wrap the paper round. Use your imagination when there’s a bit that needs sanding and you can’t get to it with what you have already.
Grades of sandpaper
Sandpaper is graded, so you know how rough it is, and how much effect it’ll have on the surface to be sanded.
60 grit is very harsh, you might use this when sanding the paint off, whilst at the other end of the range, 600 grit would be used for French polishing. You won’t need anything either end of these grades. I would actually suggest you’ll probably only need 120 and 240 if you were to go shopping for some, 80 if you’re sanding something very rough.
After removing paint from wood as above, you could use a 120 grit first of all. For the best results, you should practice with a piece of similar wood. You could even go through the whole process with your sample piece and finish it off to be sure that you’re happy with what you will do on the furniture.
We use sanding pads for around mouldings, they’re flexible so you can get into the fine detail without taking the edge off corners.
Then before the final coats, Scotch pads, much like the green scourers mum used to wash up with, to simply key the surface. They are great before the final undercoat or second to last varnish coat.
Sandpaper shopping list
- 80 grit sandpaper
- 120 grit sandpaper
- 240 grit sandpaper
- Course sanding pads
- Green scourers (for in-between wax coats)
Filling
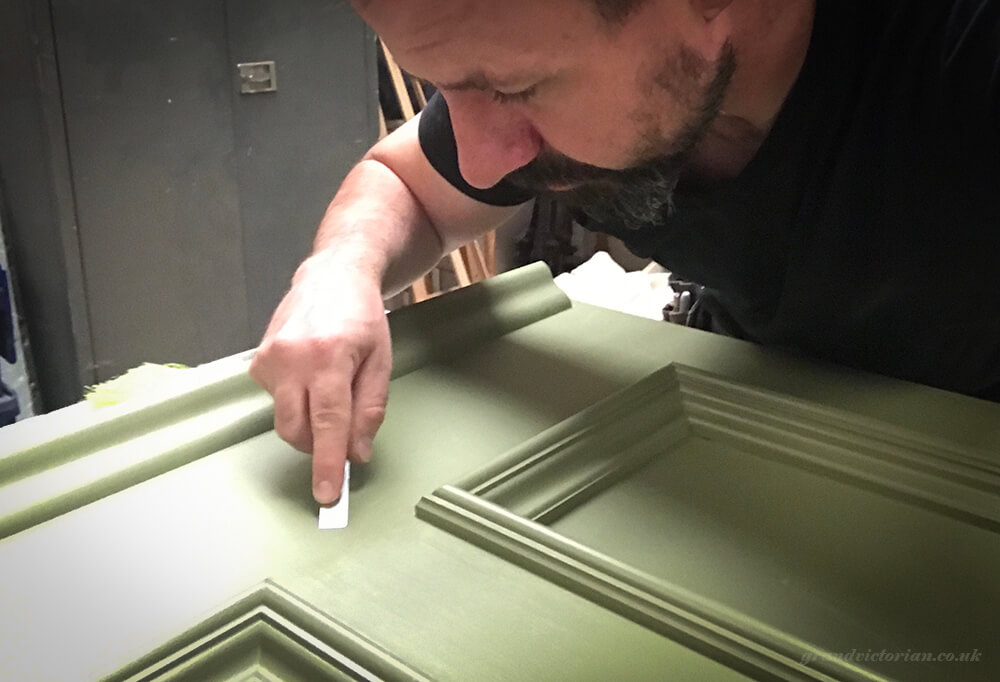
I’m not going to touch on patching with wood here, that’s another subject in itseld.
Painting wood means that everything underneath, like filler, will be hidden. The colour of the filler doesn’t matter.
When you’re waxing or varnishing there’s some trickery involved. You may need to mix different coloured fillers to get the right shade and tone for the wood.
Even then, you’ll get the right colour and find it darkens when you apply the finish. Experiment lots before you commit.
Types of filler
Water-based single-part filler takes a day to set properly; this slows the whole process down. It may seem easier to apply, and it is easier to sand, but it doesn’t do as good a job. It’s not as hard, doesn’t stick as well as two-part resin-based and will probably shrink and need another application.
If you’re filling a shake or dent, a filler is your only option, but on bigger pieces, where a chunk of wood has broken off, you may be better splicing a piece of wood in. I’ll cover that in another article.
Wood filler we use…
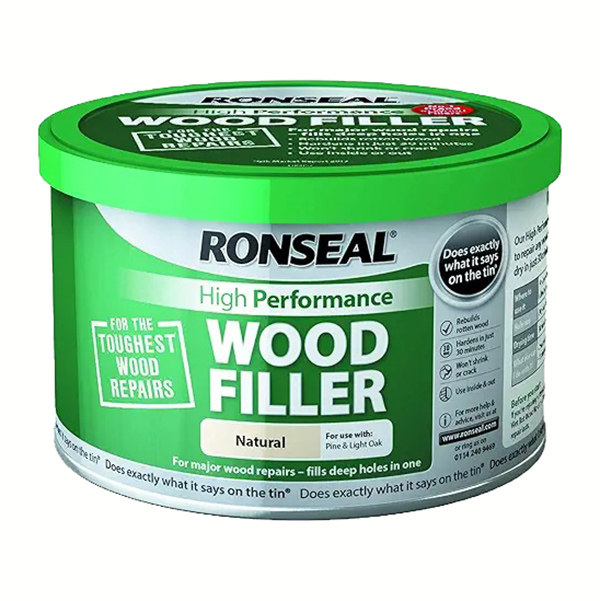
Ronseal wood filler
Lots of filler is not suitable even for the job it’s supposed to do. The two-part wood filler is the best because it hardens quickly and it’s not water-based so won’t turn to pulp when exposed to any moisture; you add an activator to the filler which makes it rock solid.
I use Ronseal wood filler when I need to match colour. You have maybe 10 minutes to apply the filler so do small sections at a time and don’t use it if it’s hardening, it doesn’t stick so well. It comes in different colours.
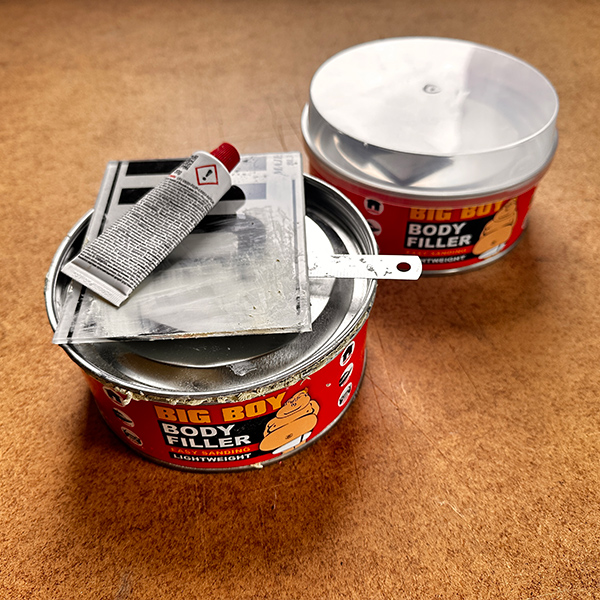
Big Boy two-part filler
When I don’t need to match the colour and I’m painting over it, like when I’m restoring a front door, two-part body filler has done the job great for many years.
It’s easier to mix with the hardener and as before you only get about 10 minutes to work it into holes but it’s very easy to sand and paints over with no problems.
Priming
You’re at the most critical stage now. Getting the piece looking great is imperative. Think that you need the piece looking exactly as you want it when finished, and then you’re coating it with something to protect it.
The primer coat is usually thinned down. Water-based paint may need thinning with water, solvent-based paint will be thinned a little with universal thinners or white spirit. This soaks into the wood more and may raise the grain.
If you’re painting, a primer coat will need sanding when it’s dry. 240 grit sandpaper would be about right at this stage; it depends on what wood your sanding and what condition it’s in. I think this is the most important sanding stage; you have to get the piece in the shape you want it at the end.
Painting wood
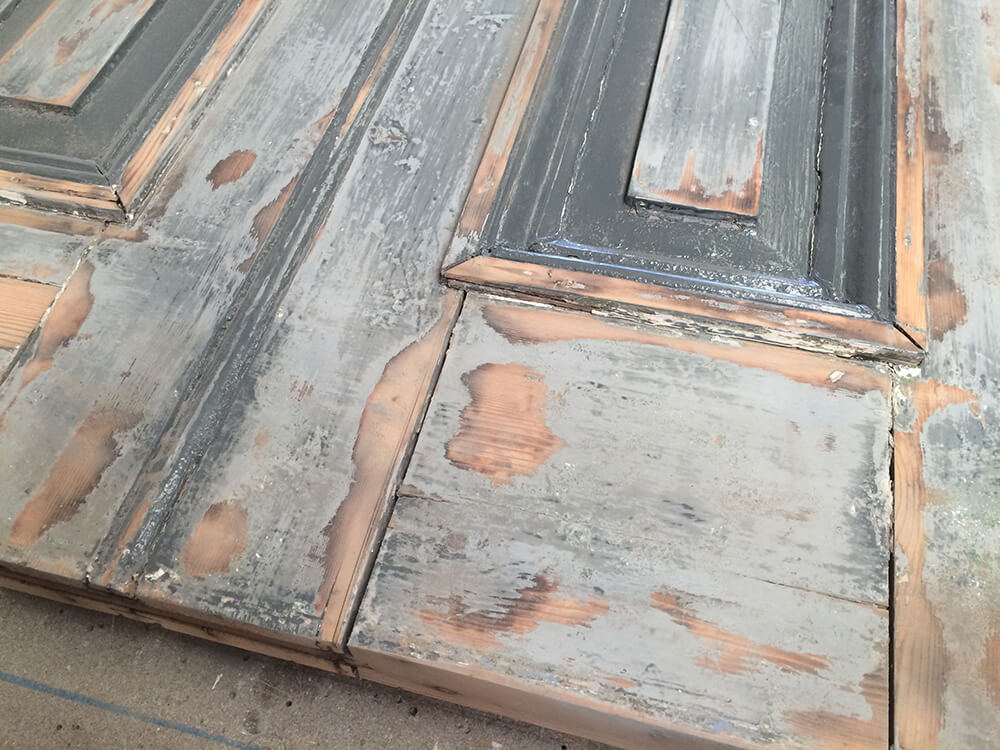
After a priming coat, and the best sanding job you can do, apply a thin coat of undercoat. Most people, when painting anything, try to get the paint to ‘cover’, that is, they want the job finishing as soon as possible. This is a mistake.
When you apply paint, you should brush it on in thin layers. If you have to apply six coats, so the paint isn’t thick, or runs, then so be it. The job will be better for it.
When I paint a front door, I apply at least five coats with lots of prep in between. The primer is followed by good sanding, two layers of undercoat are sanded in between, then there are two coats of a gloss, checking for specks of dust in between.
Waxing wood
An antique piece of oak furniture needs to be seen. When it’s inside, and protected from the elements, waxing is the nicest option, giving a very smooth luxurious feel.
This is done differently to painting. When you’re painting, you can use the coats to get the smooth finish. Waxing is not the same. You need to get a beautiful finish before you finish!
Work your way down the grades of sandpaper. You can do a pop with a moist cloth in the middle of the process. That is, after your 240 grit sand, rub water into the wood with a damp cloth to raise the grain of the wood. Leave it to dry, then sand again.
I recently restored this bureau for a customer, and after stripping the hundred-year-old cracked and flaking varnish, I waxed it with Briwax, and the finish is stunning.
You might want to warm the wax in a pan of hot water so that it gets right in the bare grain. Cut half of the bristles of a three-inch paintbrush to make it stubby, then brush the wax into the grain and detailing, working it in by moving the brush in small circles.
Leave it to sit for 15 minutes, then buff off with a soft towel. Focus at this stage because leaving wax too long leaves a thicker patches in places, you really want to remove as much as you can, then apply a thinner coat and remove as much of that as you can. All you want remaining is what has been pushed into the grain and what has soaked into the remaining wood, you don’t want to have it sitting on top of the wood like a coat of varnish does.
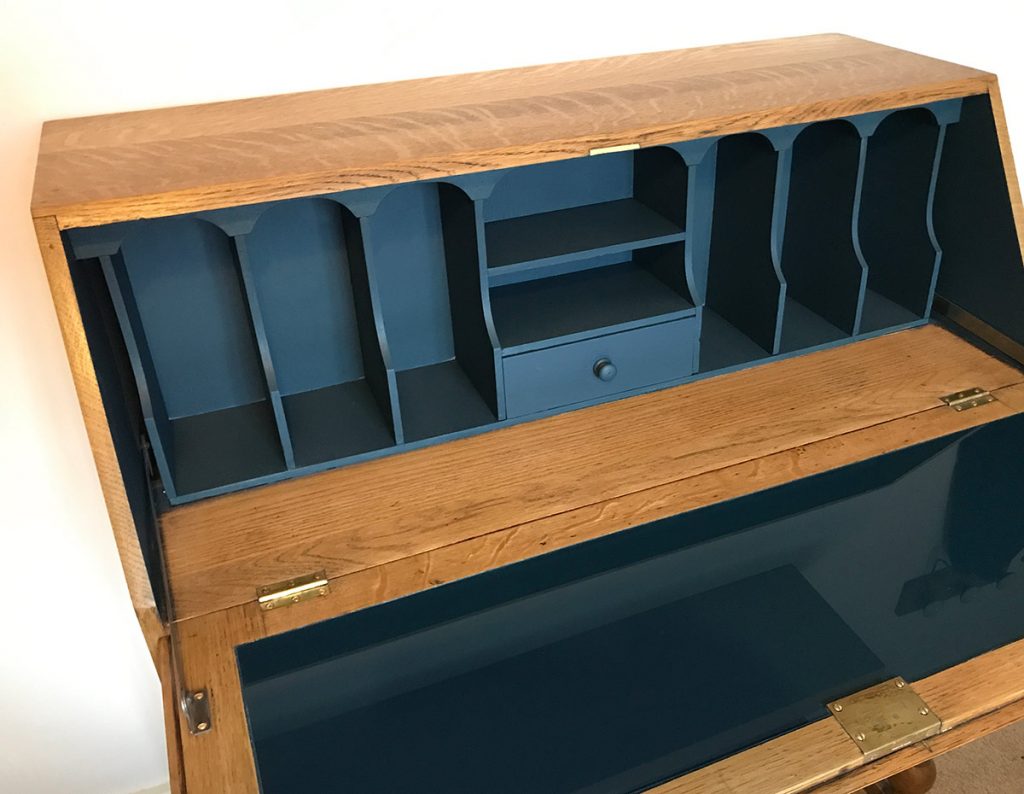
Apply your second coat the next day and buff it off again in the same way to bring a gorgeous polished finish. This bureau feels beautiful and smooth.
Wax I use…

Briwax polish
I use beeswax, you may want to try a couple of different products on samples or other pieces of furniture to feel like you’ve got the best thing for you, but I’m happy with Briwax Polish since making classical musical instruments 25 years ago. I use it on my leather hiking boots as well.
Varnishing
After popping the grain, leaving it to dry and then a final preparation sand, apply varnish to the bare wood by thinning the first coat. When it’s fully dry, give it all a good rub down with a 240 grit paper. Use a sanding block on the flats and small pieces of sandpaper folded into thirds for mouldings and corners. Water-based varnish is very thin already; it provides a nicer finish as it doesn’t round off the detailing.
The solvent-based varnish is much thicker, so if you’re not used to using it, it’s worth a practice first before spoiling your piece of furniture.
Brush it on like paint and rub it down in between the first couple of coats. Water-based is easier to use, more forgiving and dries very quickly. It’s awfully good these days. If you’re getting on in years, as I am, you may have it in your head that water-based varnish is an inferior finish but try it and you may never go back.
Varnish I use…

Ronseal interior varnish
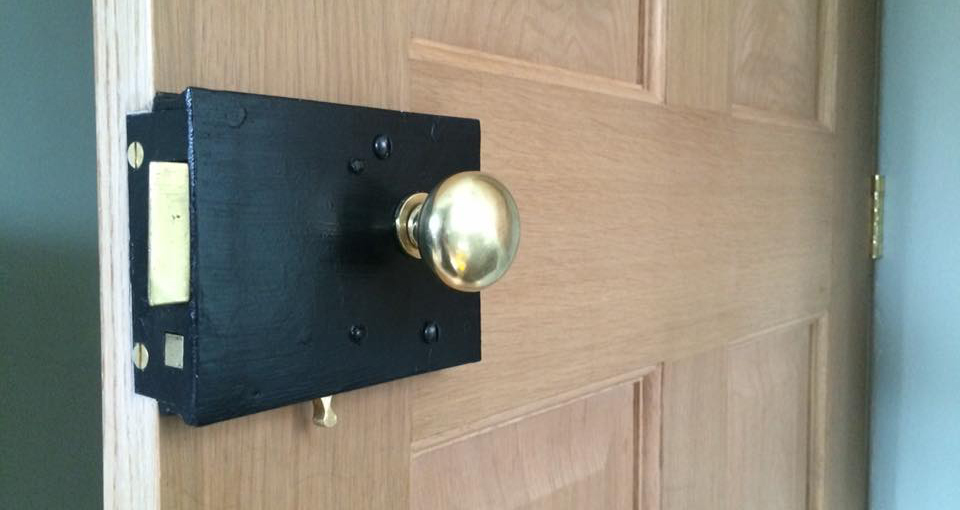
I used Ronseal quick drying internal varnish on this internal oak door we fitted a few years ago in Didsbury and the other seven look just as good. Be very careful that there are no runs or drips as it’ll be very difficult to sand them out later.
To get a professional finish, sand with 240 grit paper when the first coat is dry, apply a second coat, then when that’s dry rub it down with a sanding pad, remove all dust and apply a third coat.
I’ve found satin to give the nicest finish. When I fit internal oak doors I use four coats! Overkill? Maybe, but the finish is amazing.
French polishing needs a blog all for itself.
Brushes
Please don’t just walk into a hardware store and get the best varnish you can get and the cheapest brushes! Brushes really make the difference between a good job and a flawless job.
The bristles in a brush can be made from either synthetic strands or hair. Cheap brushes, with plastic handles, contain thick black bristles that don’t taper at the end, it’s like painting with straws. The only use for them is filling up landfill sites.
Fine horsehair feels lovely and you’ll get the best finish when laying off.
Brushes I use…

Purdy brushes
A two inch Purdy brush, cleaned properly after use, will last you your whole life. Think about it, you emulsion the living room, painting the edges in with your Purdy, you varnish a cabinet, gloss the doors, cleaning the brush after each use, not leaving it to dry up. I’ve employed painters who’ve had a set of brushes since they did their apprenticeship – and now they’re in their 50s!
Use good bushes and you’ll love your work.
Cleaning and preservation of your furniture/doors
Whilst paint and varnish can simply be cleaned with a soft damp cloth, treating waxed wood is necessary. Wax will disperse over the years, so applying a waxy polish keeps the wood protected. You may even apply another coat of beeswax once a year and buff it off like you did the first time. Furniture polishes can have petro-chemicals and silicone in them that give you a great finish today but actually work against the wax over time – do not use this crap!

Wood treatments I recommend
For day-to-day care of waxed furniture, I avoid general-purpose aerosol polishes such as Mr Sheen. Over time, these can interfere with the wax finish rather than properly maintaining it. Instead, I use Wood Silk non-silicone furniture polish, which contains beeswax and nourishing oils and is designed to look after timber without without relying on the silicone film that gives many conventional furniture polishes their temporary shine and slippery feel. It works well for normal dusting and polishing and helps keep the surface looking fed rather than simply shiny.
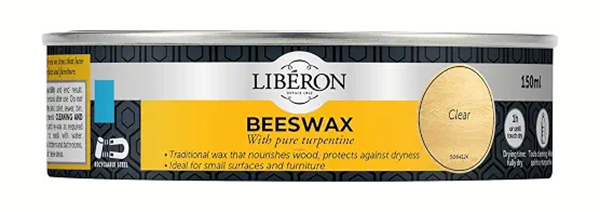
Every so often, if the timber starts to look dull, dry or tired, I give it a light coat of Liberon Beeswax with pure turpentine. This replenishes the sacrificial wax layer and helps nourish the wood underneath. I do not work to a strict yearly schedule. If the furniture still looks and feels good, I leave it alone. In simple terms: Briwax for the initial finish, Wood Silk to maintain, and Liberon when the wax needs replenishing.
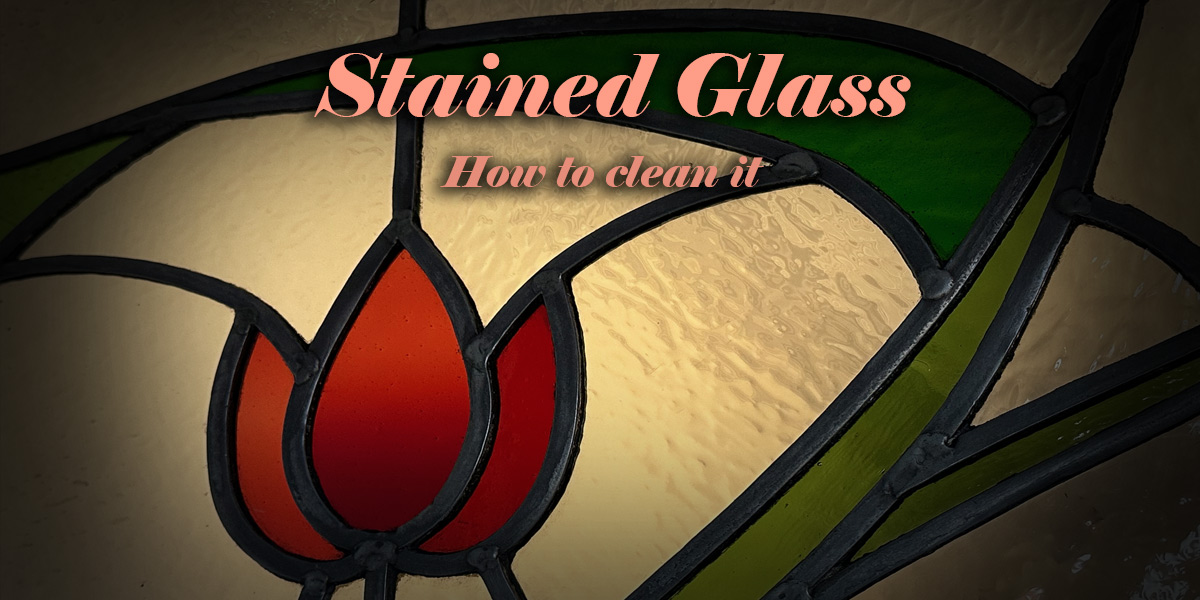
How to clean leaded windows properly
If you have some stained glass to restore, here’s how I clean old leaded windows without damaging the glass or stripping away the aged patina.